How to Set Up a Tablet for Class & Gym Check-In
The FitHive Tablet App allows members to check themselves into classes or the gym using a dedicated tablet or kiosk. Members can search for their account by last name or scan their member barcode for a faster check-in experience.
Step 1: Configure the Tablet App Settings
From your admin dashboard, go to:
Settings > General Settings
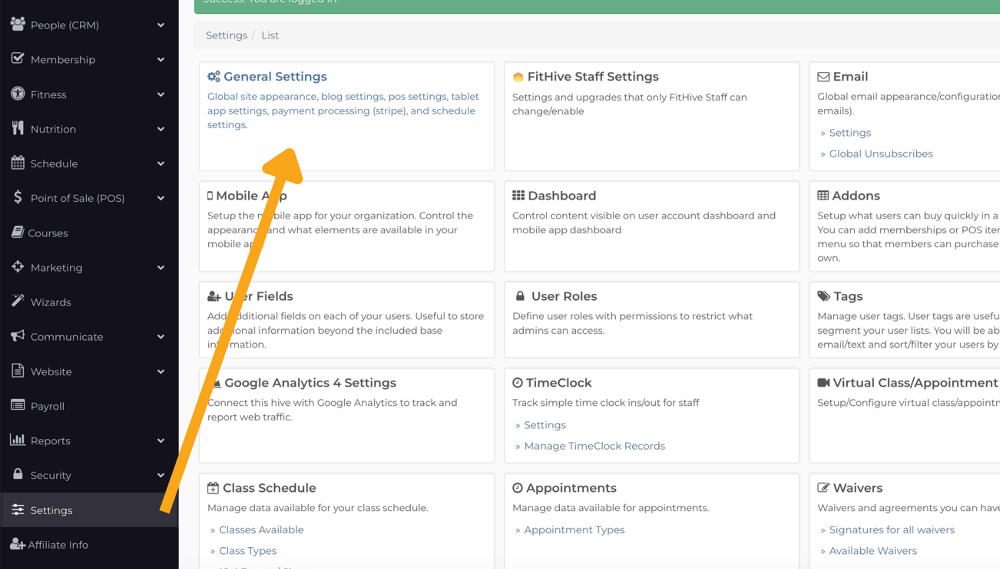
Scroll down to the Tablet App Settings section.
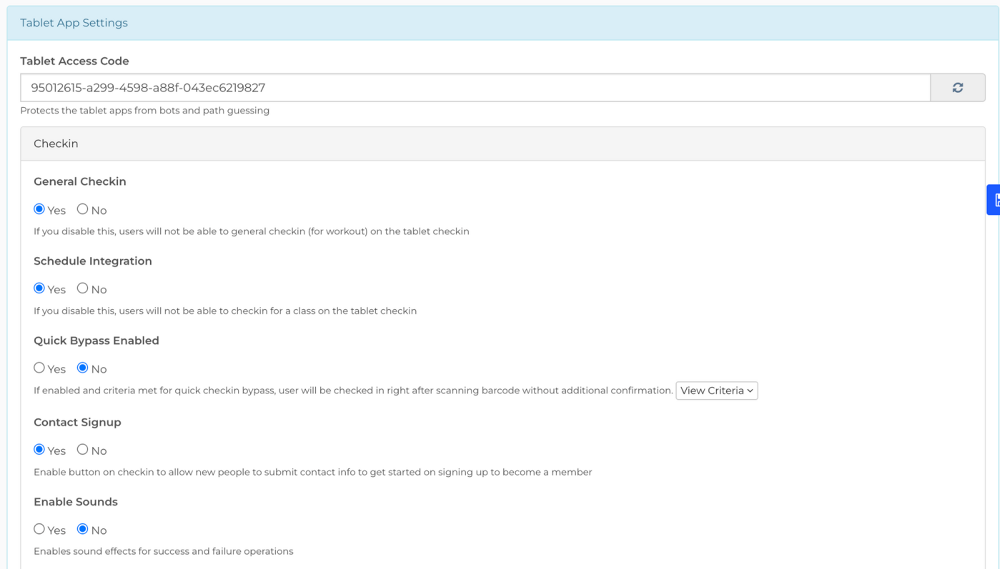
From here, you can configure:
- General Checkin — Allows members to check in for general gym attendance.
- Schedule Integration — Connects the tablet app to your class schedule so members can sign up for or check into classes.
- Quick Bypass Enabled — Allows eligible members to check in immediately after scanning their barcode without additional confirmation.
- Quick Bypass Schedule Only — Limits Quick Bypass to registered classes only.
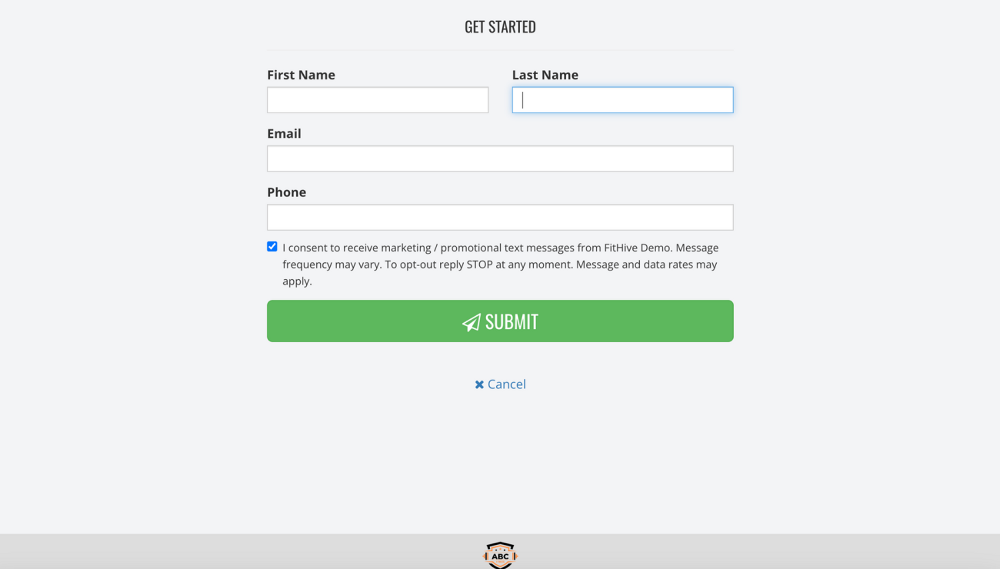
- Contact Signup — Adds a contact form to the check-in page for visitors or prospective members.
- Enable Sounds — Plays audible alerts for successful or failed check-ins.
Step 2: Save Your Tablet App Settings
Once you have configured the Tablet App Settings, click Save before continuing.
Step 3: Open the Tablet App
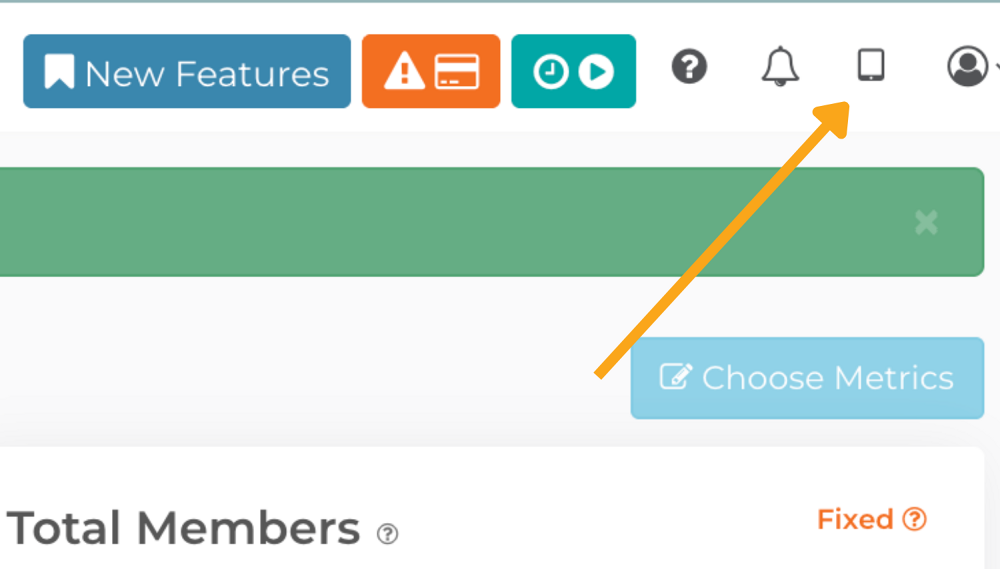
From your Admin Dashboard, click the Tablet icon located in the upper-right corner of the screen, between the Notifications bell and your profile icon.
Step 4: Launch Tablet Mode
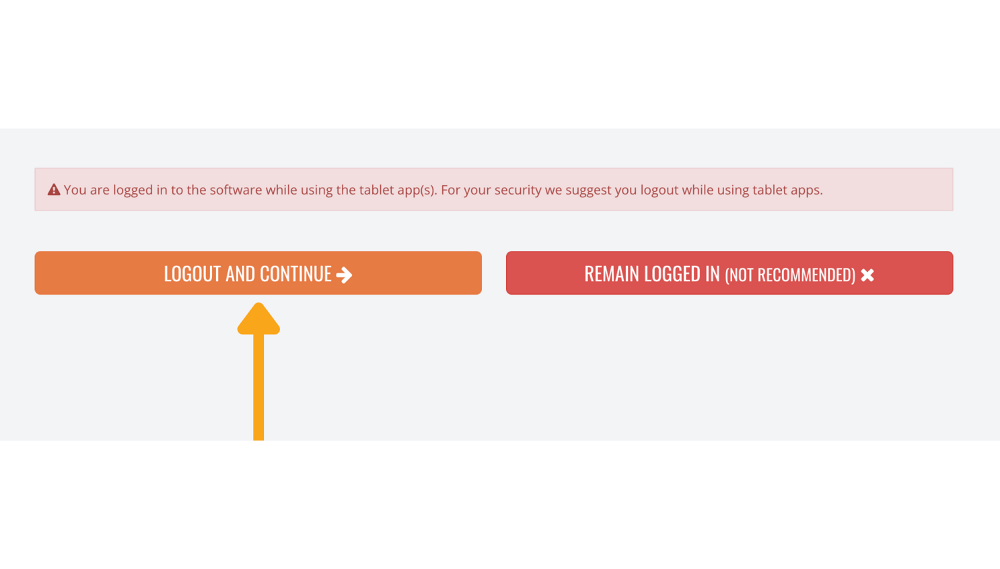
When the Tablet screen opens, click Logout and Continue.
This signs the administrator out and places the device into Tablet Mode so members can begin checking themselves in.
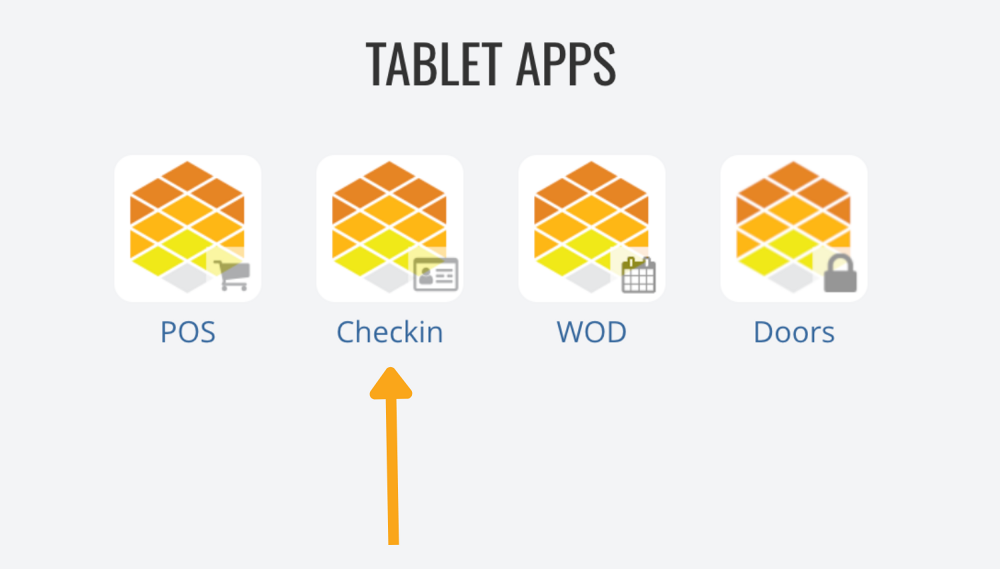
Step 5: Select the Check-In App
From the list of Tablet Apps, select Check-In.
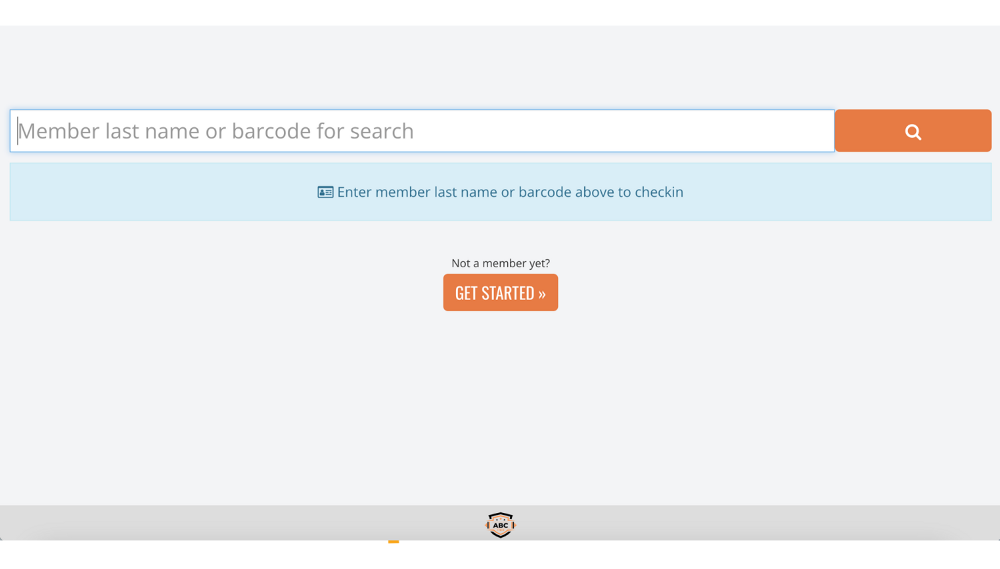
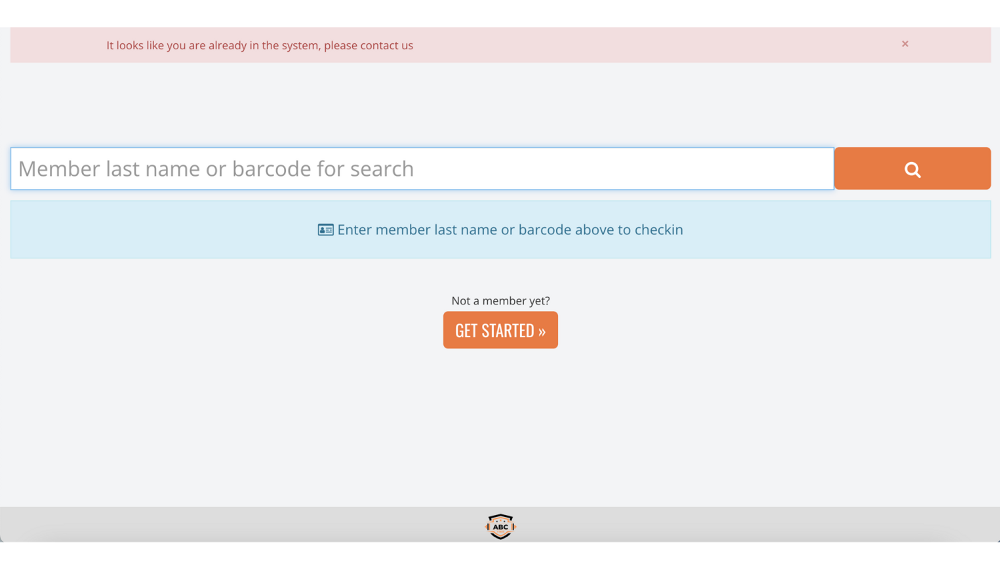
This opens the member check-in screen.
Step 6: Member Check-In
Members can check in by:
- Entering their last name
- Scanning their member barcode
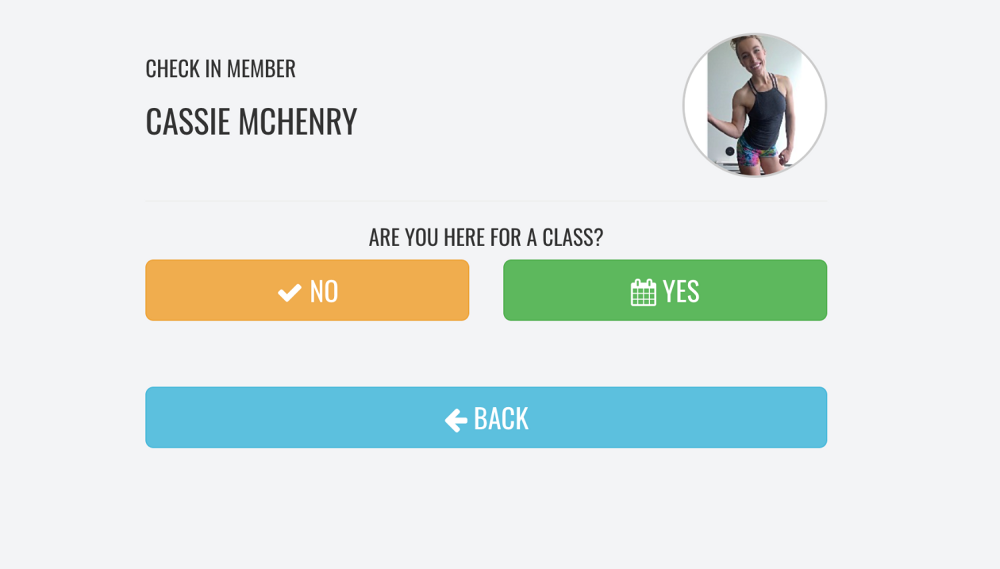
If the member has an active membership, they can choose whether they are checking in for:
- A class
- A general gym workout
Step 7: Inactive Memberships
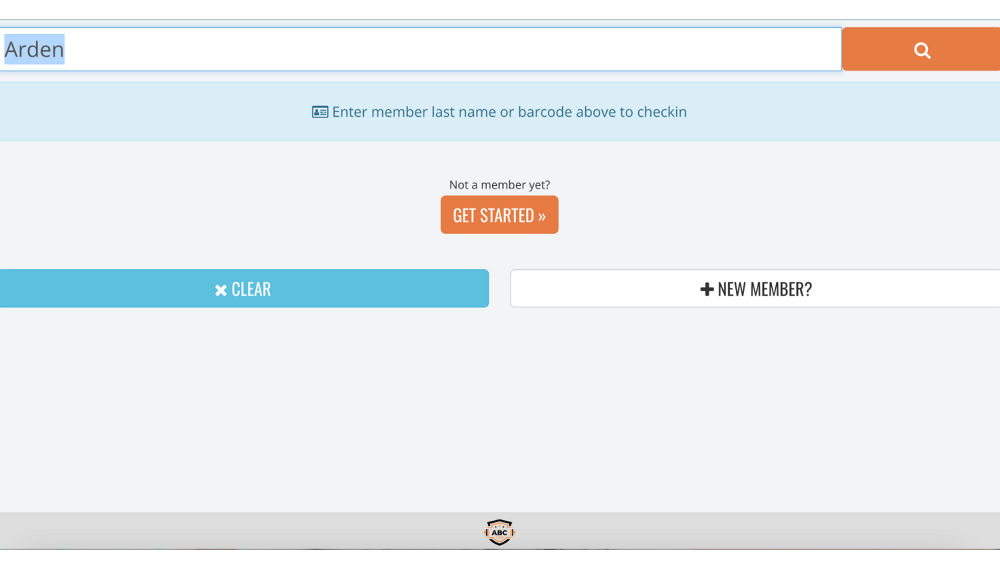
If a member's membership is inactive, or they do not yet have a membership, the tablet will display an informational message.
- New members can select New Member to complete a contact form.
- Previous members with inactive memberships will be prompted to contact your gym for assistance.
Tips
- Place the tablet somewhere easily accessible near your front desk or entrance.
- Use a barcode scanner to speed up member check-ins.
- Verify that memberships are active before members attempt to check in.
Related Articles
- How Do Members Sign Up for Classes?
- How do I manually check a member into a class?
- Setup Your Class Schedule
If you have any questions, please contact us at success@myfithive.com.
Category > Section:Navigating Your Hive >Schedule