Timeclock feature is here.
Jun 22, 2020
by Joe H.
Let's take a look at the new Timeclock feature as well as the other updates that just went live!
Timeclock
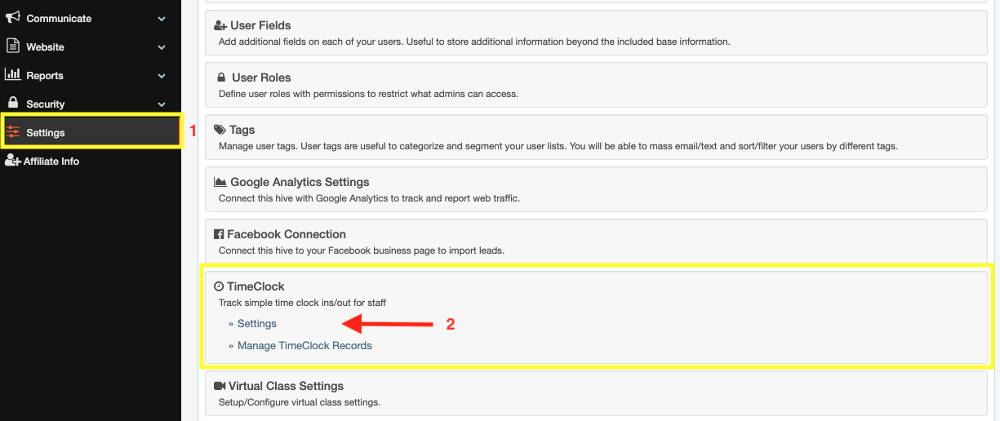
To get started with the timeclock feature in your Hive you'll need to enable in settings.
From your admin dashboard go to Settings >> scroll to Timeclock >> Select Timeclock settings
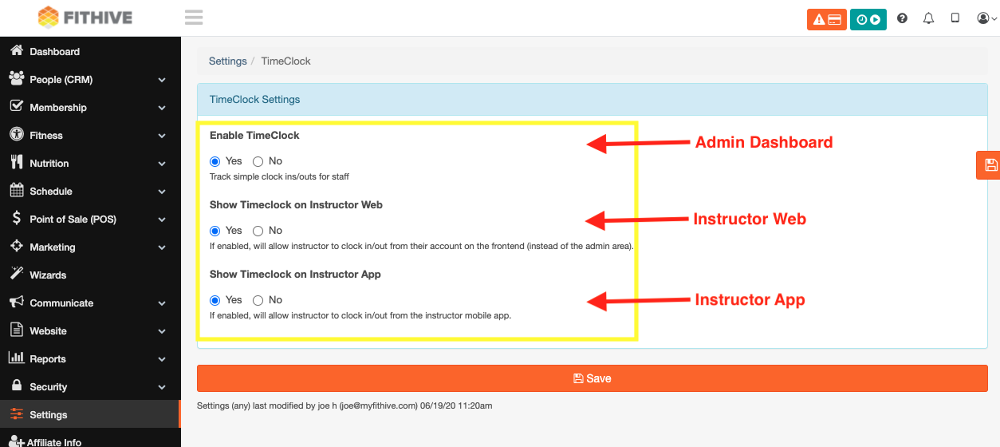
The time clock is available to display in three areas. The admin dashboard, instructor web area, and the instructor app. See the screenshot below to enable desired displayed areas.
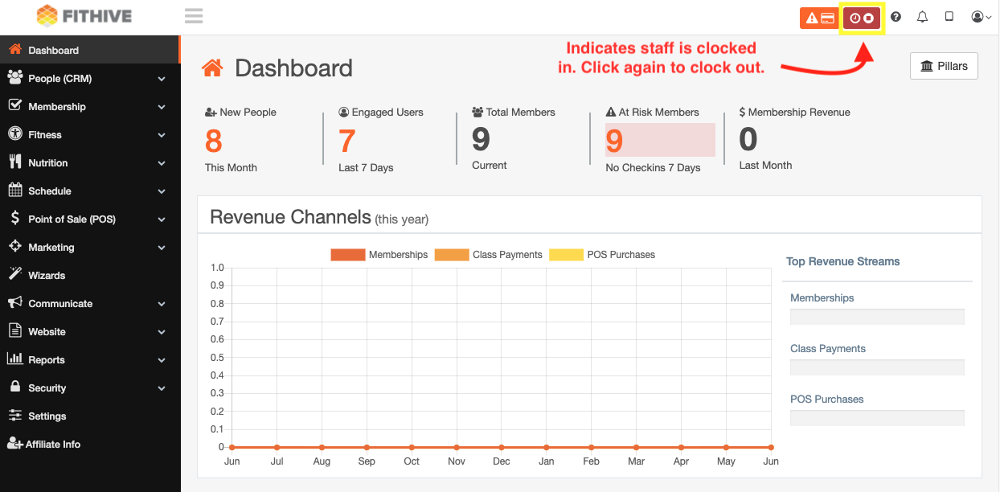
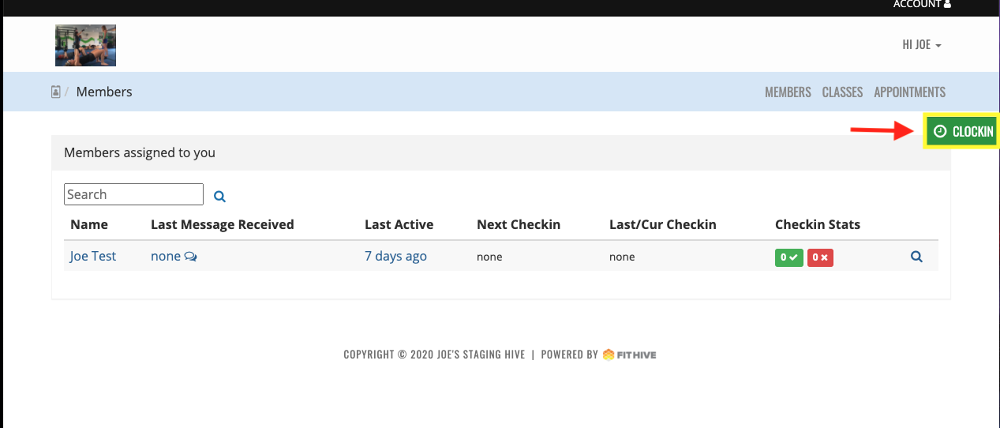
Here is a view of the clock from each area. An employee can simply click the timeclock icon to clock in and out.
Admin Dashboard
Instructor Web Area
(Your instructors are able to access this area by going to your gym's website URL /account/instructing)
Instructor PWA
Timeclock Records
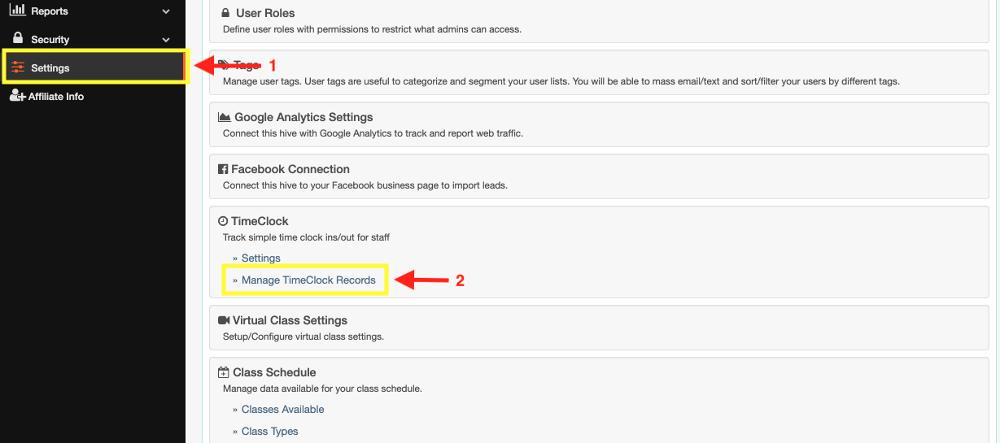
As an admin, you are able to edit timeclock records. Access from your admin dashboard and go to Settings >> Scroll to Timeclock >> Manage Timeclock Records
Timeclock Reports
From your admin dashboard go to Reports >> Timeclock >> Select Desired Report
Timeclock Access
Like the other features, you can set permission to give or remove access to the time clock edits.
From your admin dashboard go to Settings >> User Roles >> Check or Uncheck Timeclock Edit
Although these aren't necessarily new features we've made some updates to exciting features. We've updated the instructor's web dashboard. This was mentioned earlier in the blog but your instructors have their own dashboard access by going to your gyms URL /account/instructing. Once a member is assigned to an instructor from the members profile, instructors can interact with members through check-ins, schedule, progress photos, chat, and more.
Whats New:
- Updated look
- Updated sub-menu
- Updated sub-nav options
- Updated account dropdown
- Added progress photo access
Client Check-In From The Member App
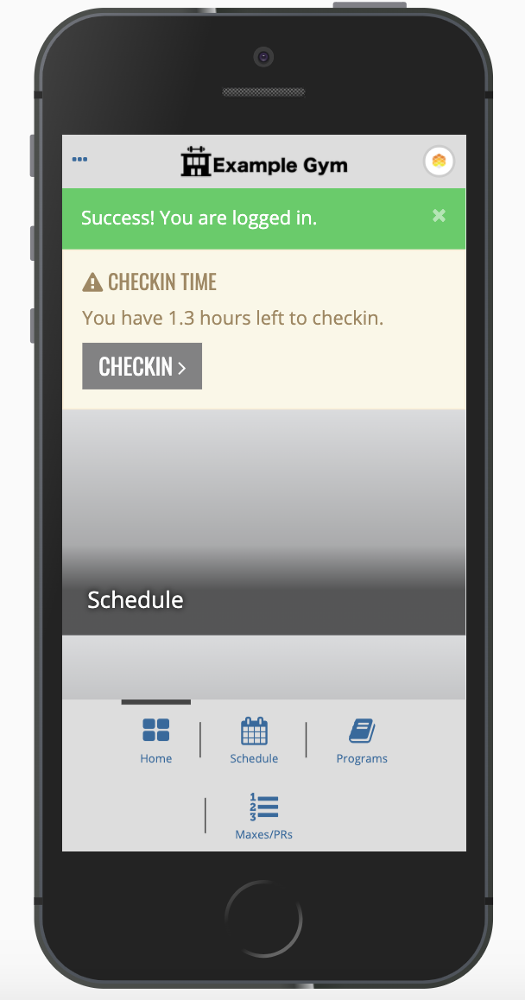
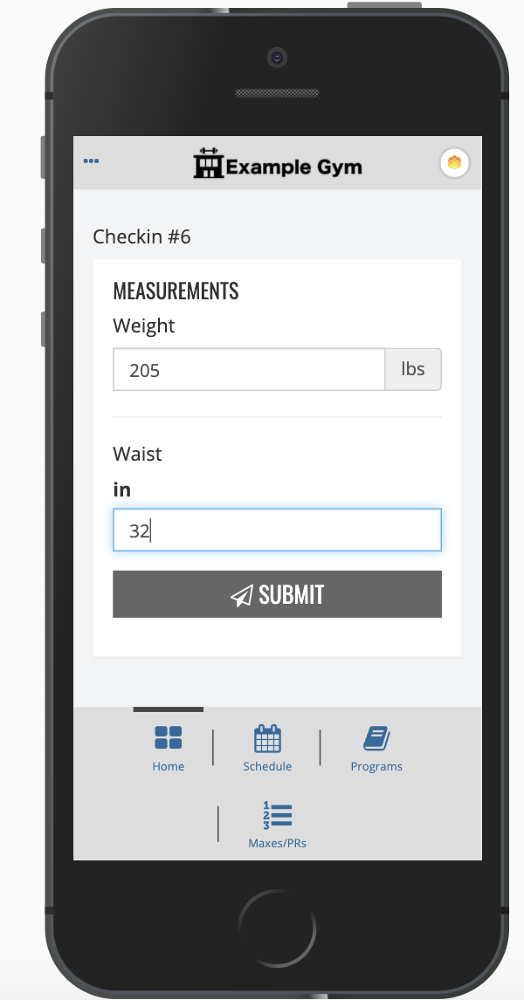
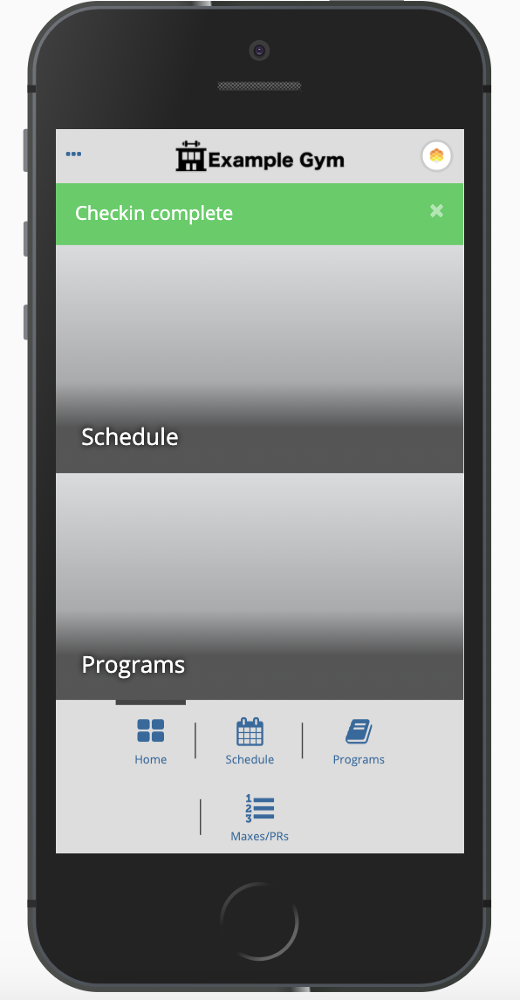
We've also extended the client check-in access to be available to your member from your gyms app.
If you'd like to learn more about this new feature or have any additional questions, please don't hesitate to contact us at success@myfithive.com. Also, don't forget about the community of experienced gym owners using FitHive in the FACEBOOK GROUP! Join the group to receive valuable feedback on how they're utilizing these new features. As always, thanks for being a part of the FitHive Family!
- The FitHive Team
